

How I Made a Gluten-Free Fraisier Cake on a Tiny Island

Welcome to Week 1: The Cake I Made

When I say this was a small miracle… I mean it.


I’ve been craving a Fraisier for weeks, but getting fresh strawberries on this island isn’t exactly guaranteed.

And then suddenly, there they were — local strawberries for sale.


I think that was the only sign I needed. I knew instantly that I had to get them and bake with them. And that it had to be a Fraisier.


Despite not having done it for a while, making the actual cake felt easy.
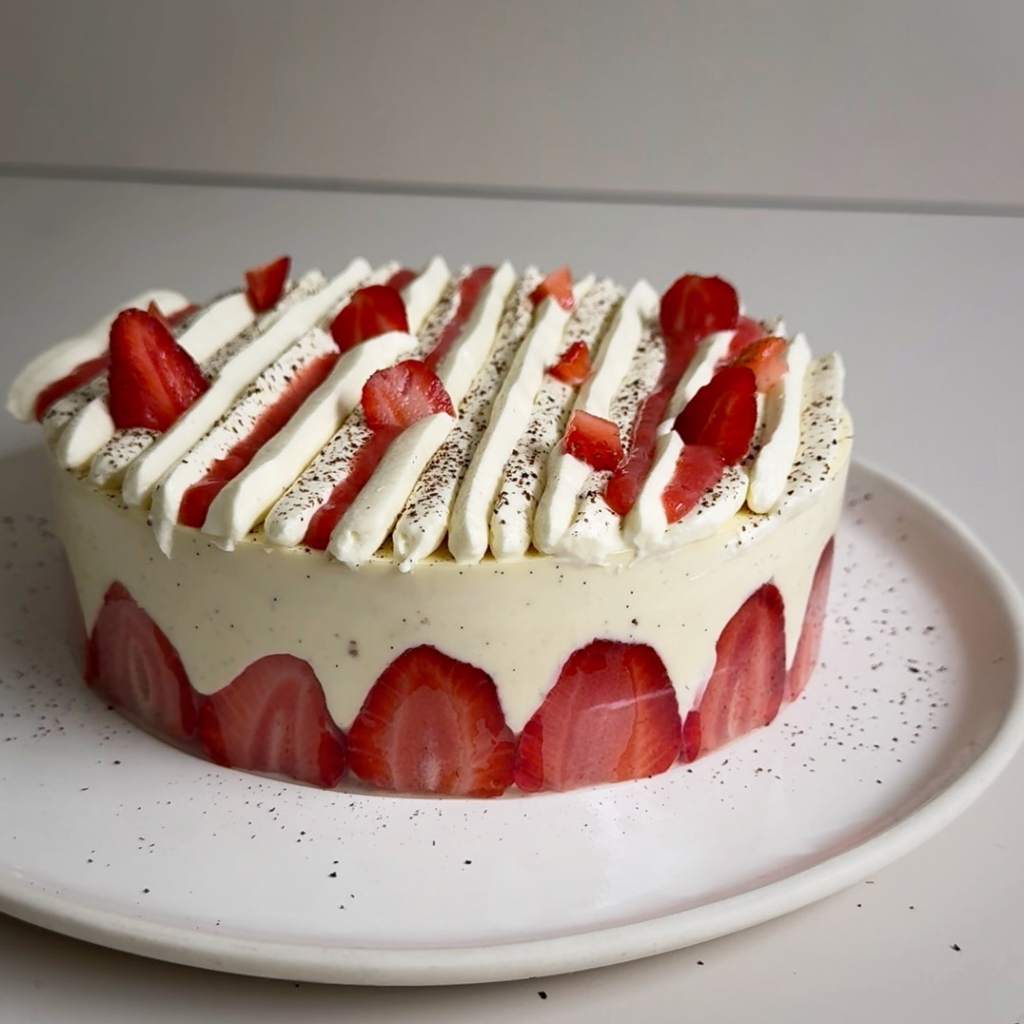
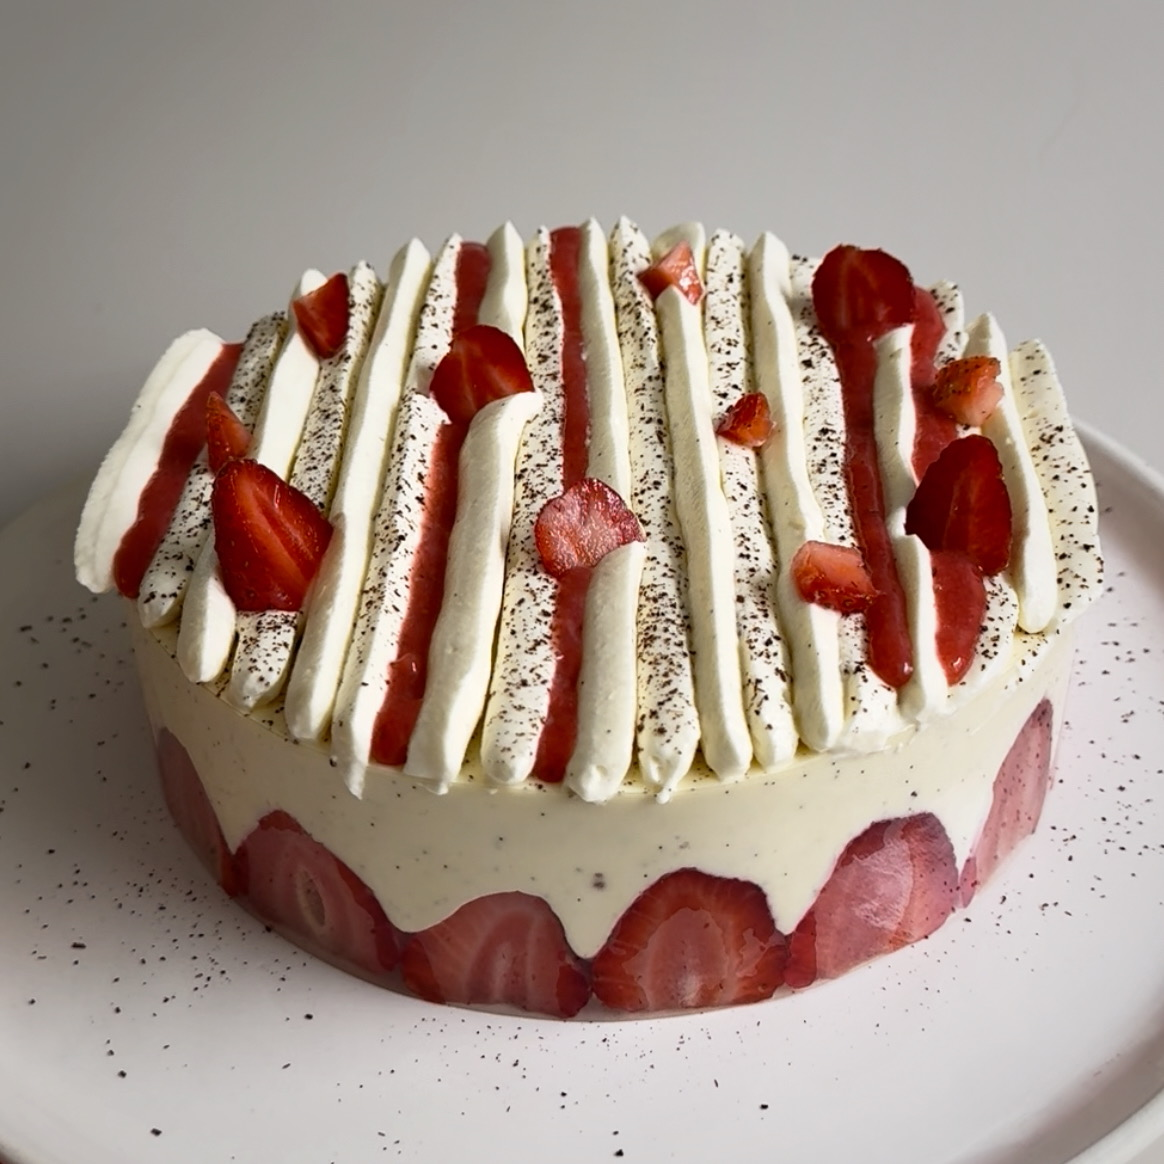
The piping on top… not so much (more on that later…).


And this cake mattered to me especially because I made it for the first people to come over and visit me: my dad and his wife. 


To me, this cake is so incredibly elegant and yet it convinces with its simplicity: just a sponge cake, fresh strawberries and pastry cream turned into a diplomat cream.


I hope you’ll enjoy my gluten-free Fraisier cake recipe!

Strawberry Fraisier cake with fresh strawberries on top

Why this cake means so much to me

The Fraisier is such a classic.


But for a long time I was afraid of trying to do one myself because it looks so complicated.

It wasn’t until pastry school in France that I made one myself.


And what can I say, I fell in love with it. My favourite part is probably the moment you lift the cake ring and you see the stunning outside of the cake for the first time.


And I absolutely loved that I got to make this one for my dad. I’m so happy I could finally show him and his wife what my life here looks like.


And you might not believe me, but it’s not that hard to do. 

Follow the assembly steps as outlined below and trust me, you’ll be fine.


My tips for a perfect Fraisier

How to Get That Clean Strawberry Edge

  • Put acetate the height of your cake ring inside the ring before starting.
  • Try and choose similar sized strawberries for the outer, visible layer. Alternatively, trim your strawberries so they’re all the same height.
    Use bigger/smaller strawberries for inside the cake or the top.
  • Fill the gaps in between the strawberries really well. Yes, use a piping bag for that. And yes, use a palette knife to gently press the cream around the fruits.

How to Keep Diplomat Cream Stable

Diplomat cream consists of pastry cream and whipped cream. When making it, keep the following things in mind:

  • Cook your pastry cream well. I know it is tempting to finish cooking once it thickens, but continue for an additional 2-3 minutes.
  • Add the gelatine once the cooking process is done as otherwise it will loose its gelatinising properties and your cream won’t hold.
  • When making your diplomat cream, be sure you give your pastry cream a good stir. It should be smooth and lump-free but not runny.
    Then, fold the whipped cream in gently. Important: Assemble the cake immediately or otherwise the cream will start to thicken and things get messy.

Decorating the Top

There are endless ways of decorating a Fraisier (see inspo below). If you want to pipe, consider the following:

    • Fill your pastry bag with your preferred nozzle
    • Pipe with even pressure, a steady hand, and don’t overthink it. Nobody is as critical as you are and people will love it anyway.
    • Practice makes perfect! Trial your piping on a cake ring that’s been wrapped in cling wrap.

Make the Fraisier your own

The most fun part about making your own cake is that you also get to decorate it the way you want to.


Possibilities are endless, and from time to time I like to try something new.


This time, this meant trialling a kind of piping that I have never tried before.

Straight lines. A lot of them.


I am not going to lie, I was dreading this moment.

But I also knew that I had to try it. If I didn’t try it in that moment, I might delay it for another year or two.


Opting for an option I am more comfortable with usually doesn’t give me the growth I’m looking for.

And sure, it can be better. But I’m glad I did it.


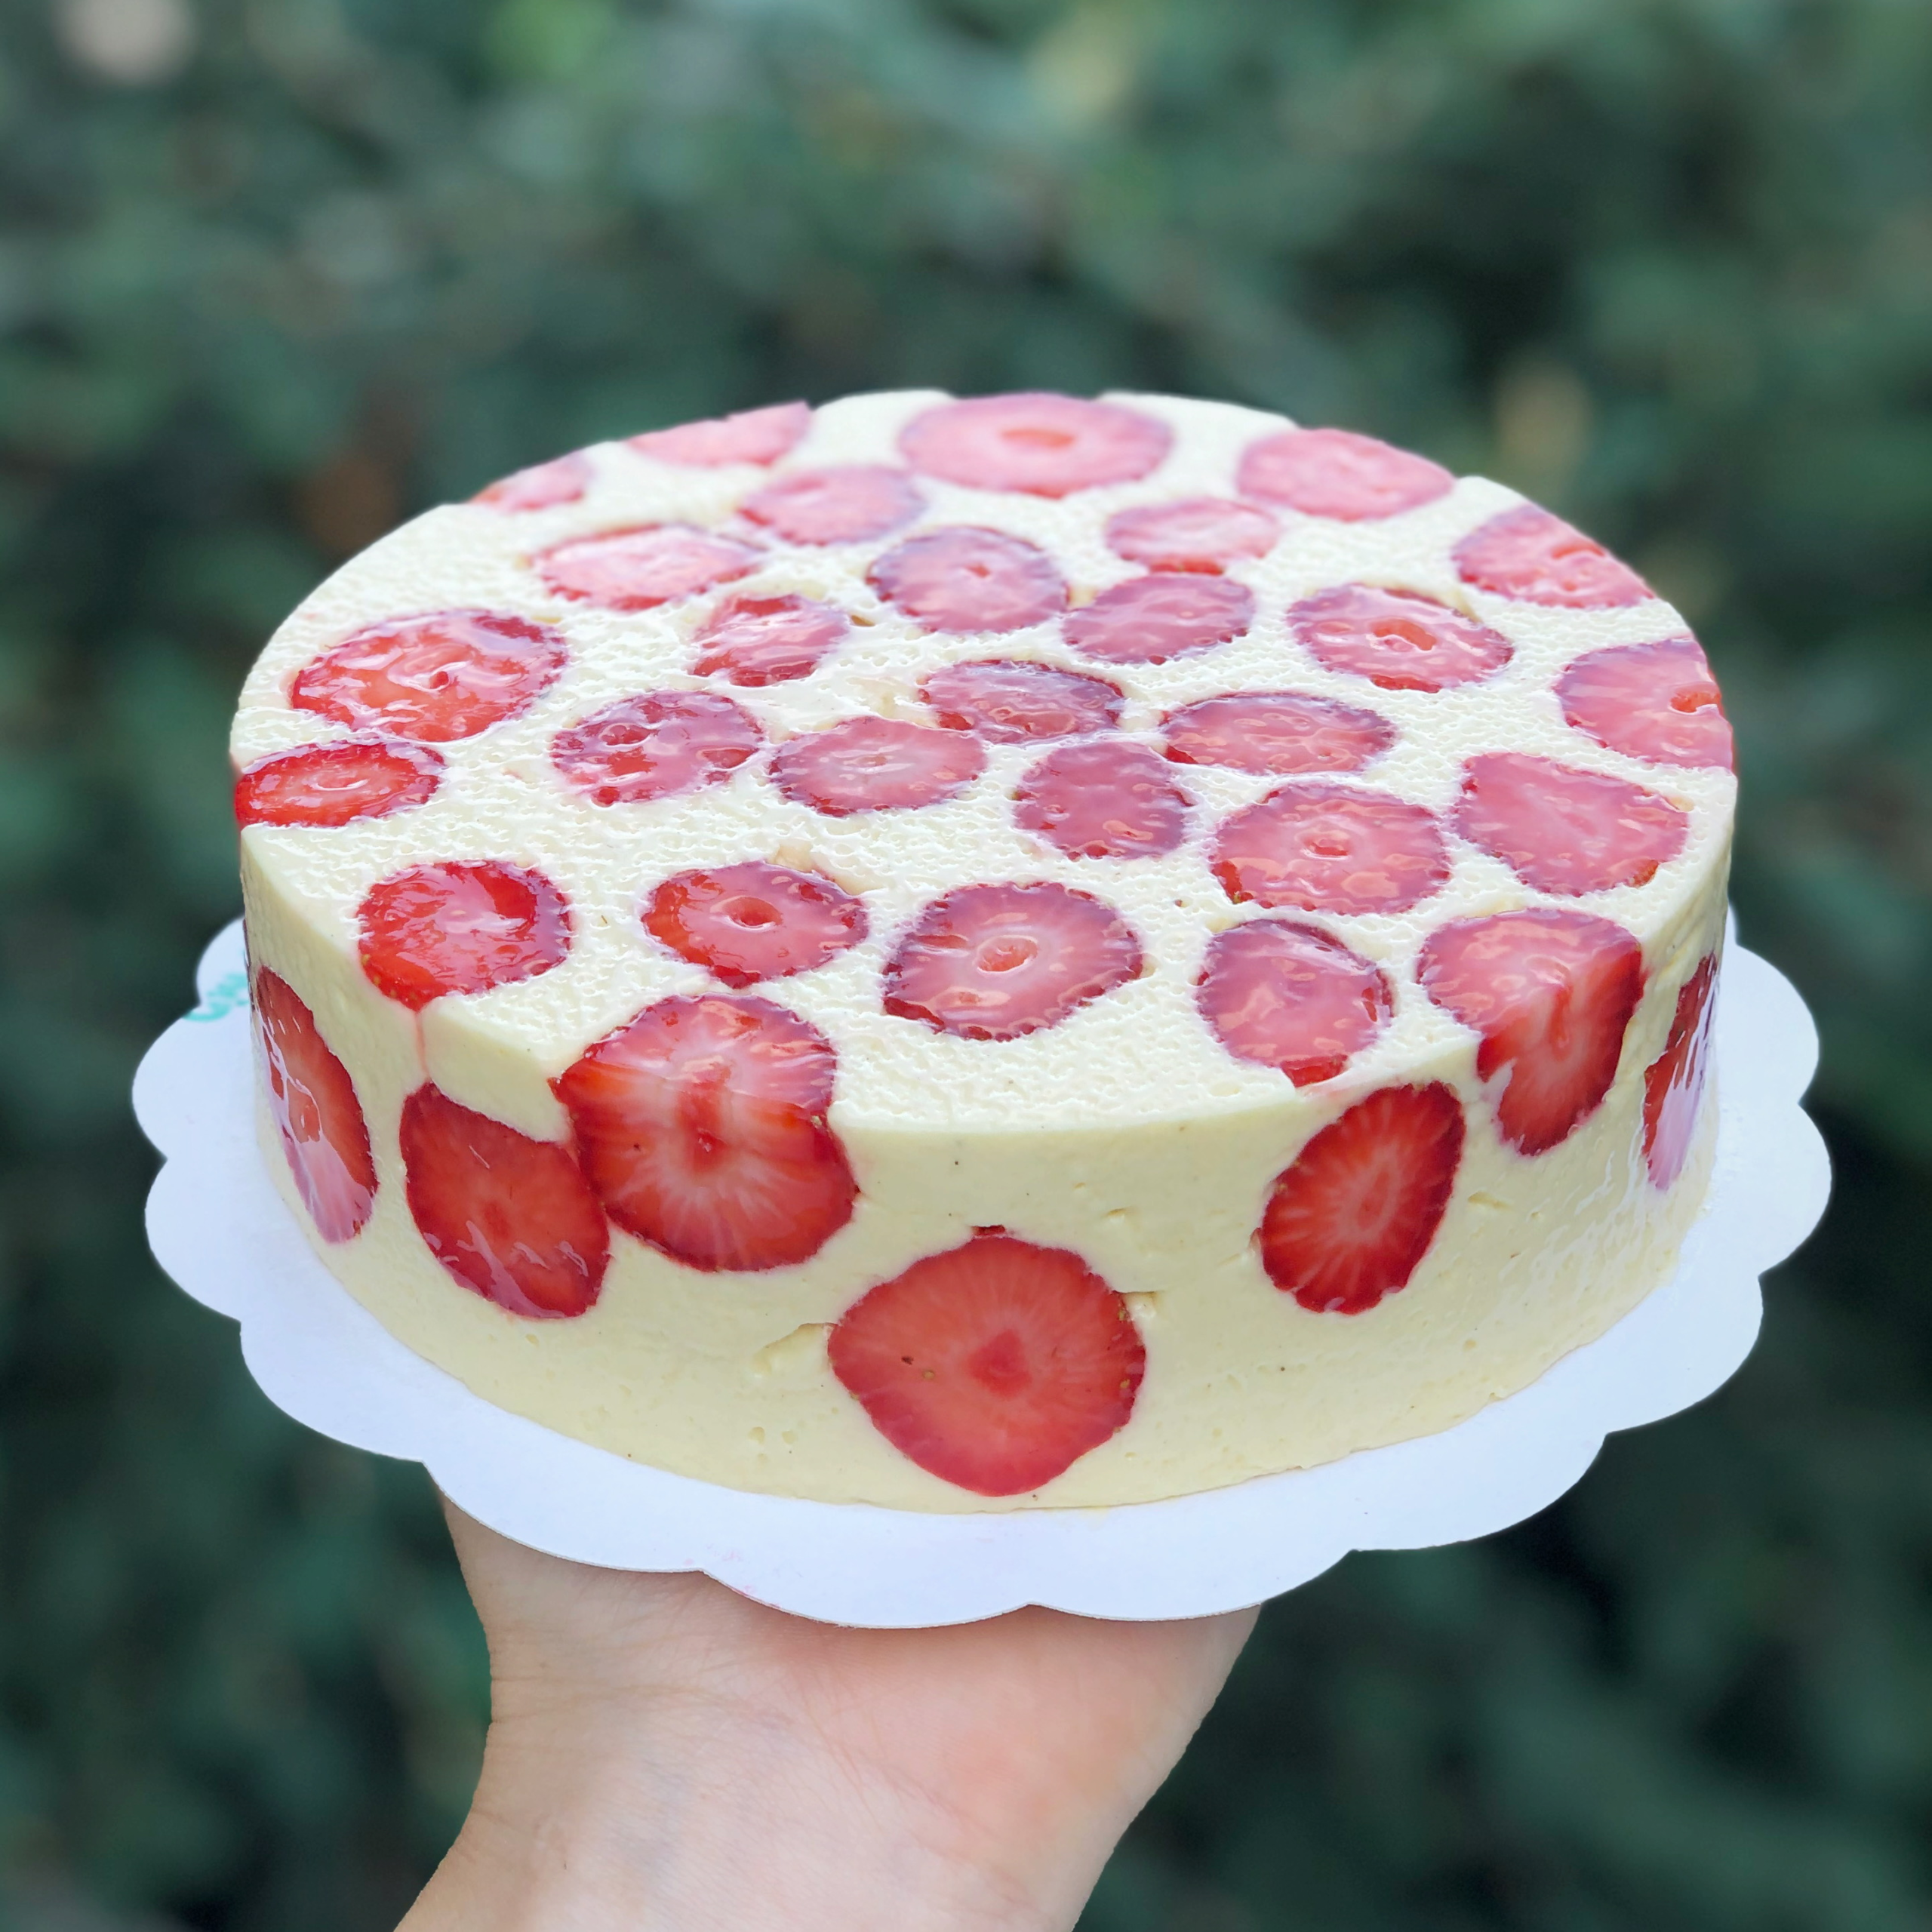
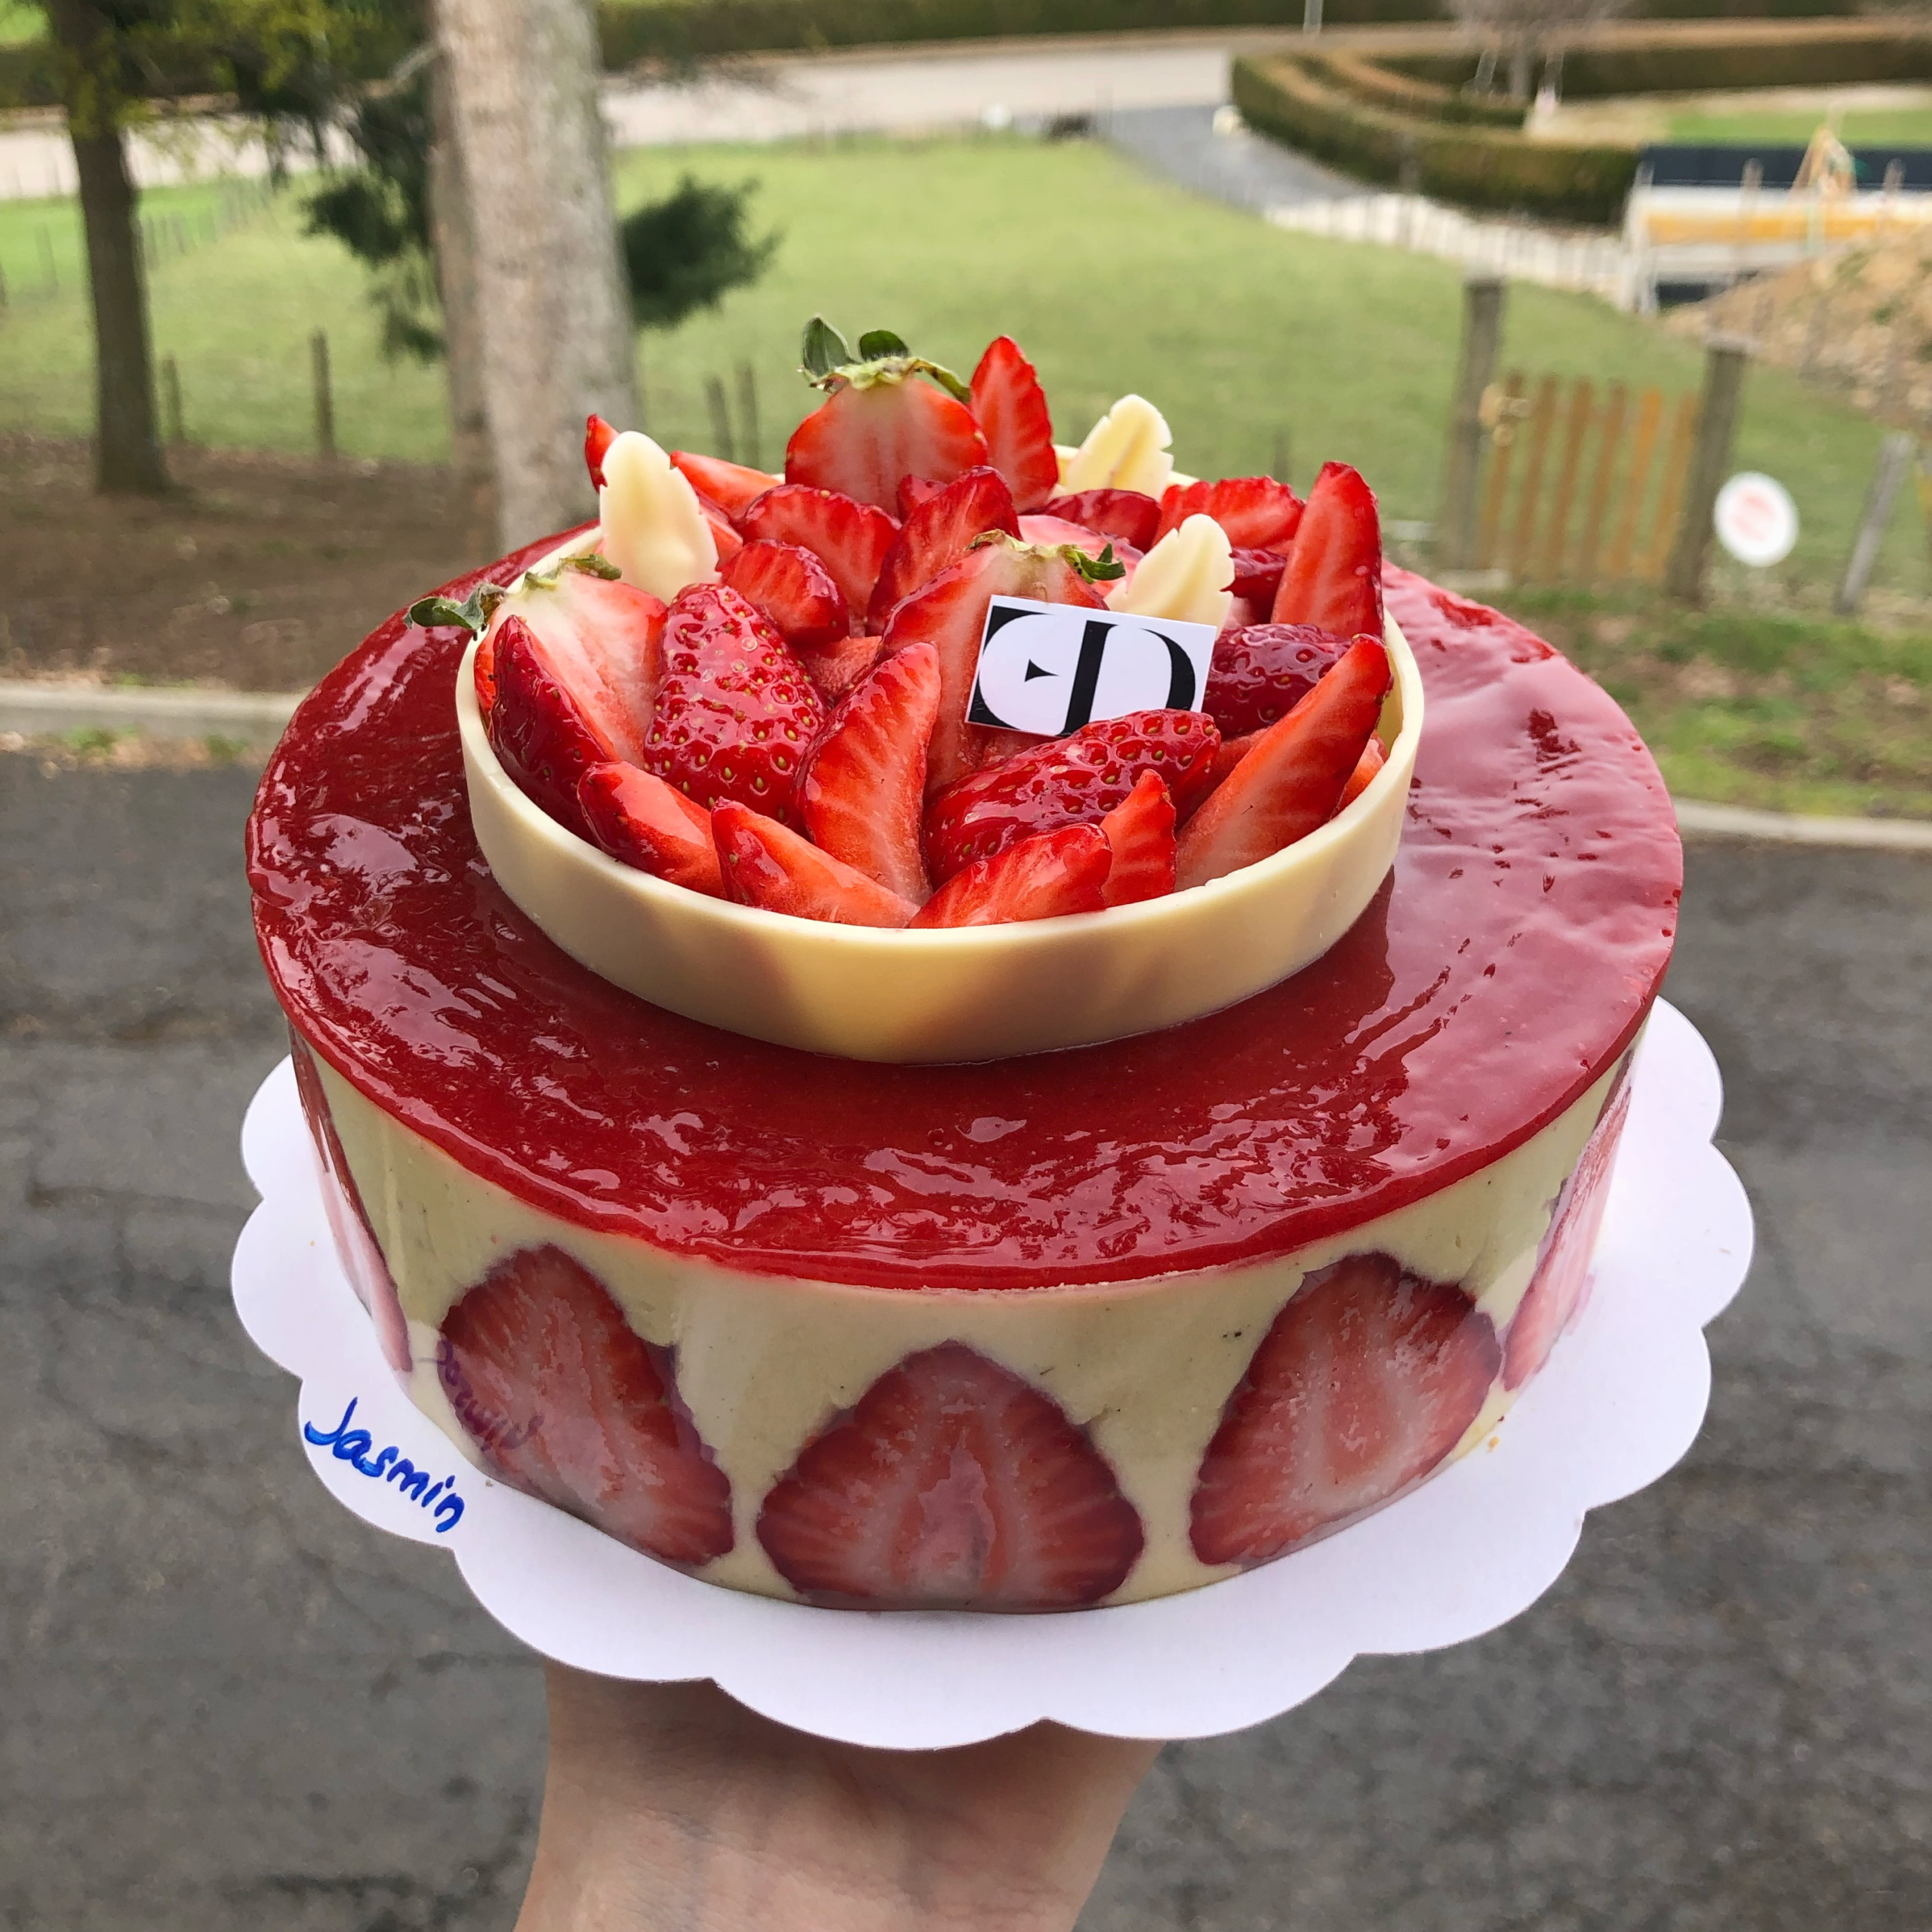
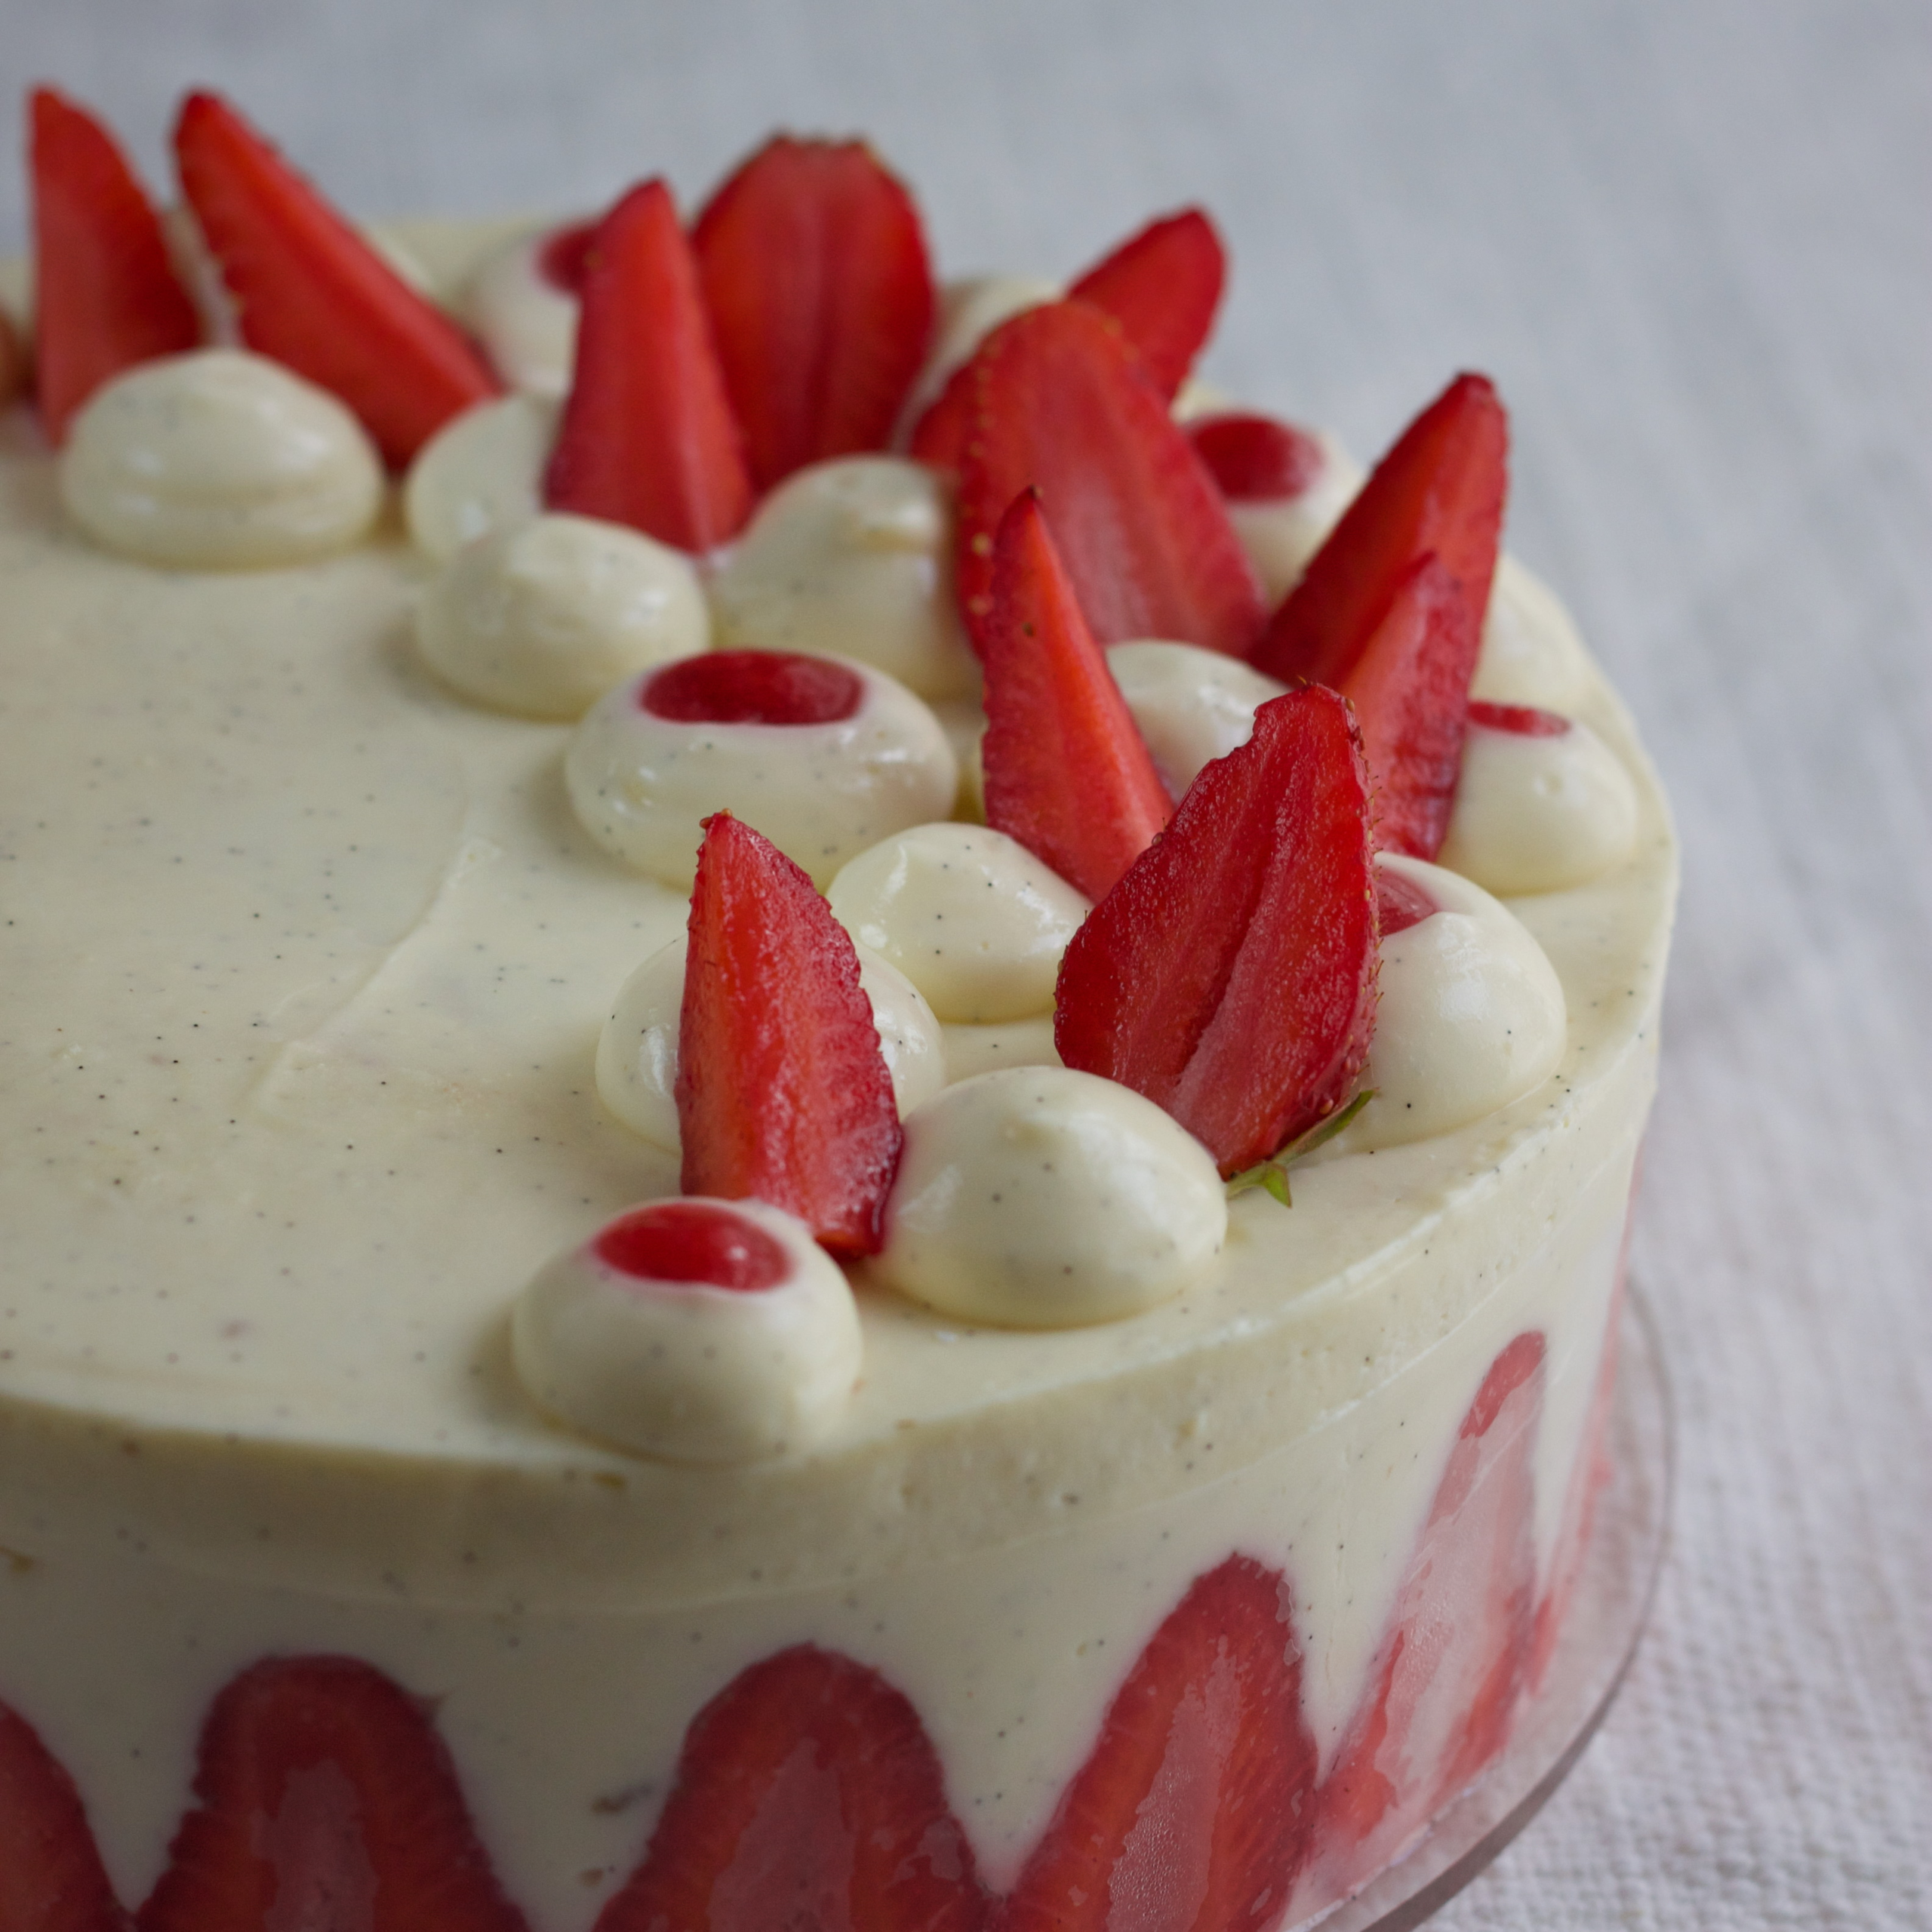
If you are looking into making this Fraisier your very own, have a look at the images below. Those are all different Fraisier versions I made in the past that have the same base. And you can use the same recipe below.


Have fun and feel free to reach out if any questions pop up!

Print
clock clock iconcutlery cutlery iconflag flag iconfolder folder iconinstagram instagram iconpinterest pinterest iconfacebook facebook iconprint print iconsquares squares iconheart heart iconheart solid heart solid icon

Fraisier


  • Author: Jasmin
  • Total Time: 1 hour 40 minutes
  • Yield: 1 Fraisier cake (16 cm), serves 6–8 1x
  • Diet: Gluten Free

Description

My favourite Fraisier recipe and an absolute must-do for strawberry season! Plus, it’s gluten-free.


Ingredients

Units Scale
Génoise
  • 2 eggs
  • 60g castor sugar
  • 60 corn starch
Vanilla Diplomat Cream
  • 150 g semi-skimmed milk
  • 1/2 vanilla pod
  • 50 g egg yolks
  • 55 g caster sugar
  • 20 g corn starch
  • 6 g powdered gelatine
  • 30 g water (to hydrate gelatine)
  • 150 g cold whipping cream 35%
Final piping
  • 150g cold whipping cream 35%
  • 50g strawberry confit

Instructions

Génoise

  1. Whip sugar and eggs to a ribbon consistency (roughly 7-10 minutes)
  2. Gently fold in the sifted corn starch.
  3. Spread into a 16 cm ring.
  4. Bake 25 minutes at 160°C.

Vanilla Diplomat Cream

Start by making the pastry cream:

  1. Heat the milk with vanilla and emptied vanilla pod.
  2. Turn off power/gas, cover with cling film and let infuse for 15 minutes.
  3. Whisk the yolks with sugar, then add the cornflour.
  4. Remove cling film from milk and take out vanilla bean.
  5. Add part of the hot milk to egg yolk and sugar mix to temper, whisk, then return everything to the pot.
  6. Cook until thickened and the mixture releases from the sides of the pot (2-3 minutes after boiling).
  7. Remove from heat, add melted gelatine, mix well.
  8. Spread on cling film and cool rapidly in fridge.

From pastry cream to diplomat cream:

  1. Whip the 150g of cold whipping cream to a soft texture and keep in fridge until used.
  2. Take the pastry cream out of the fridge and mix until smooth.
  3. Then,  fold the whipped cream into it in 3 additions.
  4. Assemble the cake immediately.

Assembly and Finish

  1. Cut the génoise into two 14 cm discs, each 1.5 cm thick.
  2. Line the inside of a 16 cm ring with a 3cm acetate cake collar.
  3. Then, line the ring with halved strawberries.  The cut half points to the outside.
  4. Using a piping bag with a 10 mm plain tip, pipe some cream in between the strawberries.
  5. Close all gaps between the strawberries with a palette knife.
  6. Place one génoise disc at the bottom.
  7. On top, pipe a spiral of diplomat cream.
  8. Add diced strawberries, cover with more diplomat cream.
  9. Add the second génoise disc, then finish with a thin layer of diplomat cream.
  10. Refrigerate thoroughly.
  11. Whip the 150g of cold whipping cream and sugar to stiff peaks.

The fun part!

  1. Pipe any decorations you want on top of your cake.
  2. Add the strawberry confit as you please.
  3. Decorate with fresh strawberries.

Notes

Honestly, I know this cake looks incredibly fancy but it is surprisingly easy to do!
Give it a try and if you have any questions at all, feel free to reach out here.

  • Prep Time: 75
  • Cook Time: 25
  • Category: Dessert / French Pâtisserie / Cake
  • Method: assembling, Baking, layering, stovetop cooking
  • Cuisine: French
